Preparation
-
Install all insulators and tensioners on your posts.
-
Lightly attach the end of the tape to the first post of the fence — the one fitted with the tensioners
-
Unroll the tape along the line of posts, laying it on the ground until you reach the next tensioner.
-
Cut the tape to the desired length (using scissors), leaving an extra 20–30 cm (8–12 in) of tape at each tensioner to allow for proper fastening.
1. Attach the Tape to the First 36V Tensioner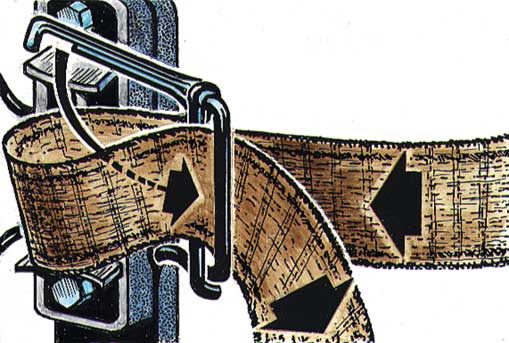
-
Form a loop with the tape and let the locking pin drop inside the loop.
-
Pull on the tail of the tape to tighten it.
-
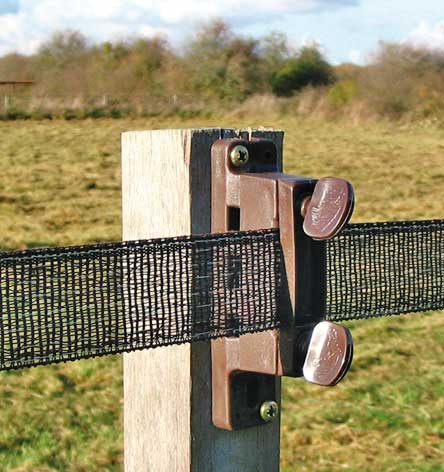
Pass the tail of the tape back through the stainless-steel loop of the 36V tensioner, as shown in the diagram.
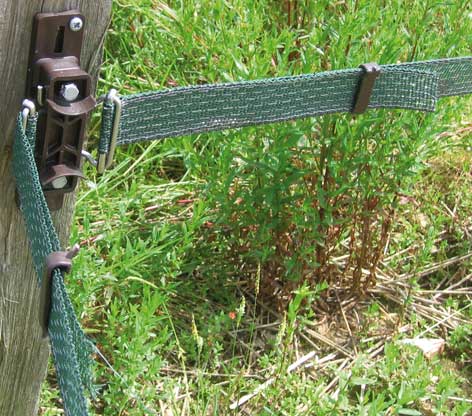
⚠️ Important: If, as shown in the photo, you do not pass the tail of the tape back through the stainless-steel loop, your tape will not be held securely, and your fence will eventually lose tension.
Finally, secure the tape in place using the small brown clips that lock the cover and base of the 45V together.
2. Attach the Tape to the Second 36V Tensioner
-
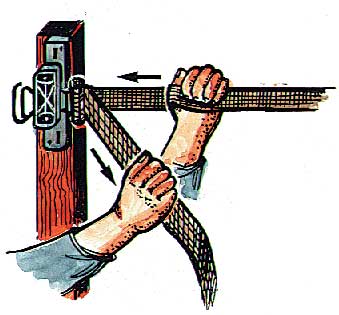
Insert the tape into the tensioner at the opposite end of the fence.
-
Slide the tape through and pull it tight — this is your final tensioning.
-
Pass the tail of the tape through the stainless-steel loop of the 36V tensioner.
-
Secure the tail of the tape with the clip after passing it through the loop.
The only step left is to place the tape into the line insulators along the fence.

3. Installing the Tape into the 8V Insulators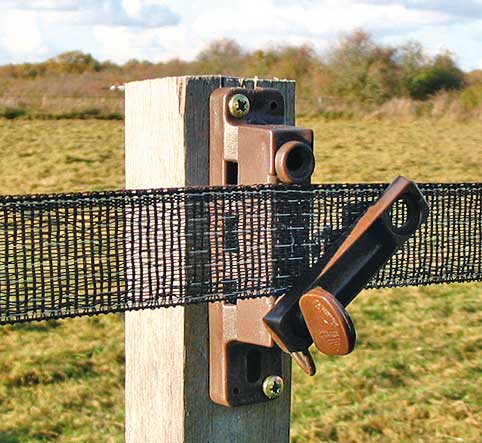
-
Close the bottom of the 8V insulator by fastening the lower plastic screw (or pin, depending on the model).
-
Lift the tape and slide it inside the 8V insulator.
-
Put the cover in place and tighten the upper plastic screw.
Important
Once the plastic screws are in place:
-
Tighten them until they spin freely.
-
Adjust the closure by turning the screws about a quarter turn forward or backward so that the tape can no longer slide.
Your tape is now held in place by the insulator.